Tonight I am going to give a quick how to on creating a simple sundress for your Sasha toddler doll. I picked the toddler because of her odd shape and I know toddler clothes can be hard to come by. So why not create your own pattern so those toddlers aren't running around in their bloomers. Mine has had nothing but bloomers and undershirt on for months.
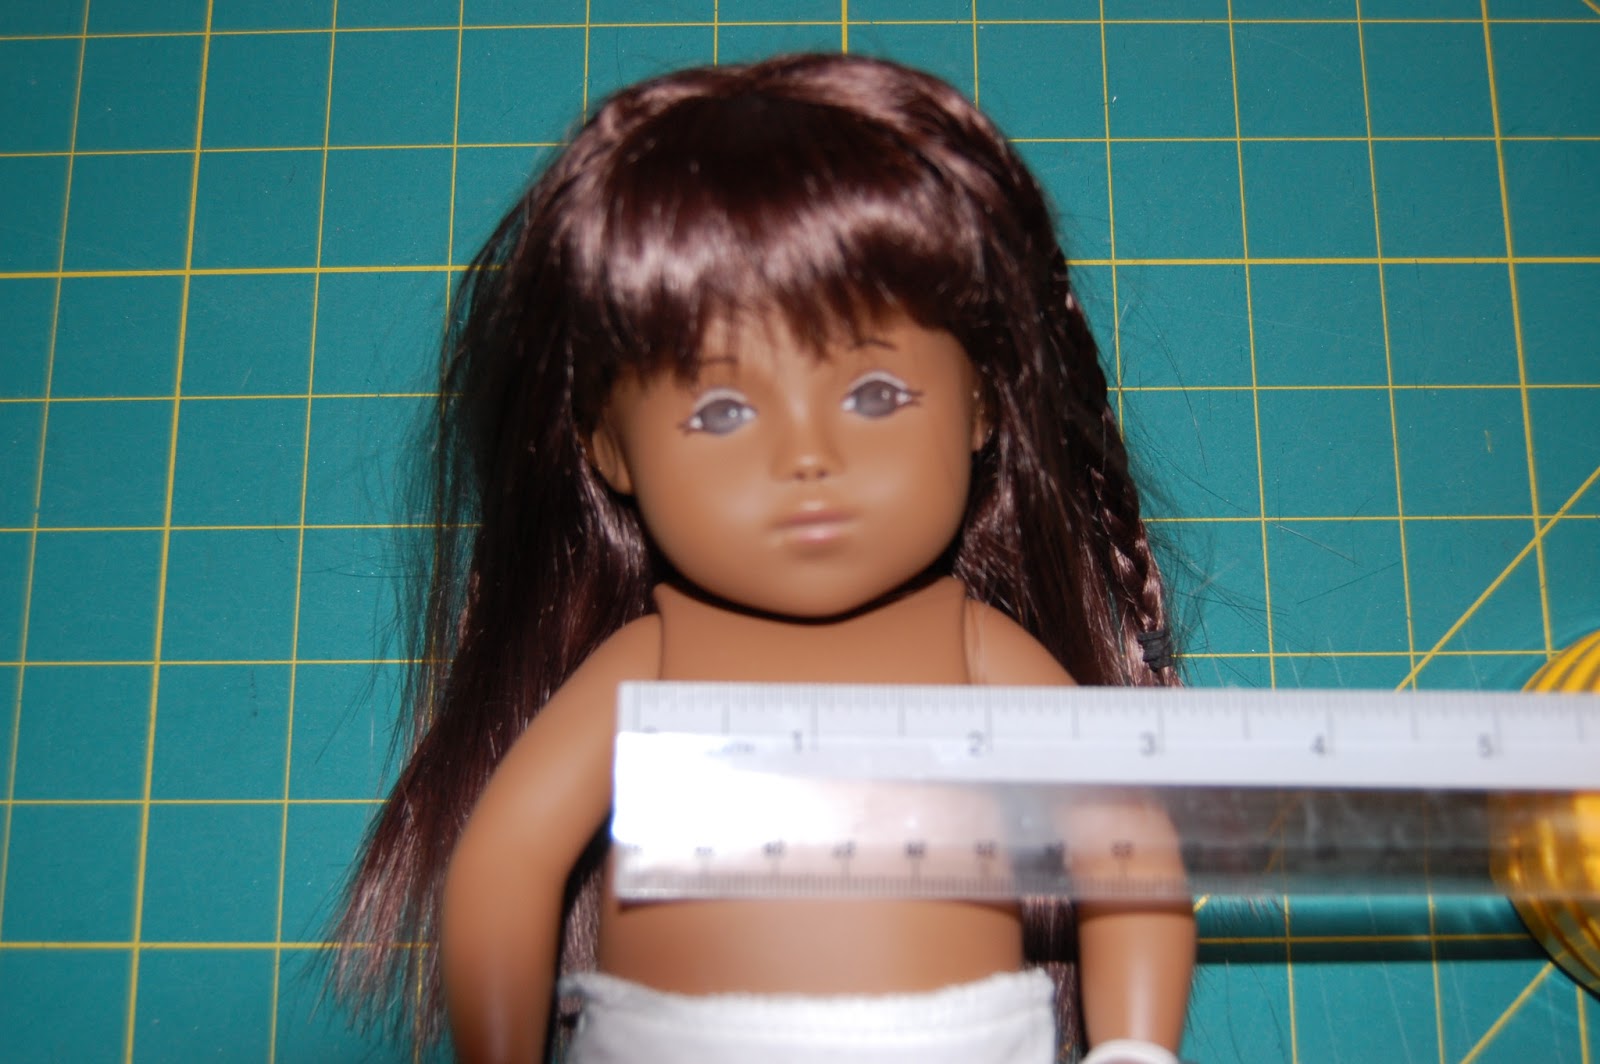
Step one: Measure your dolls chest area (not circumference, but simply the area across the front).
Step two: Draw a line across an 11x8 inch sheet of paper. I will segment that line for the chest area, under arm area, and back. mark off a section at least two times the chest measurement (I'm going with 5 inches-my toddler has quite a big tummy). That gives an inch for each of the under arm areas(make a slight curve as shown in the picture) and four inches total for the back(two inches on each side). Then measure how long you want your dress to be. I'm going 5 inches because toddlers always look adorable in short dresses.
Step three: Cut out your pattern then cut one from your chosen fabric and one for lining the dress.
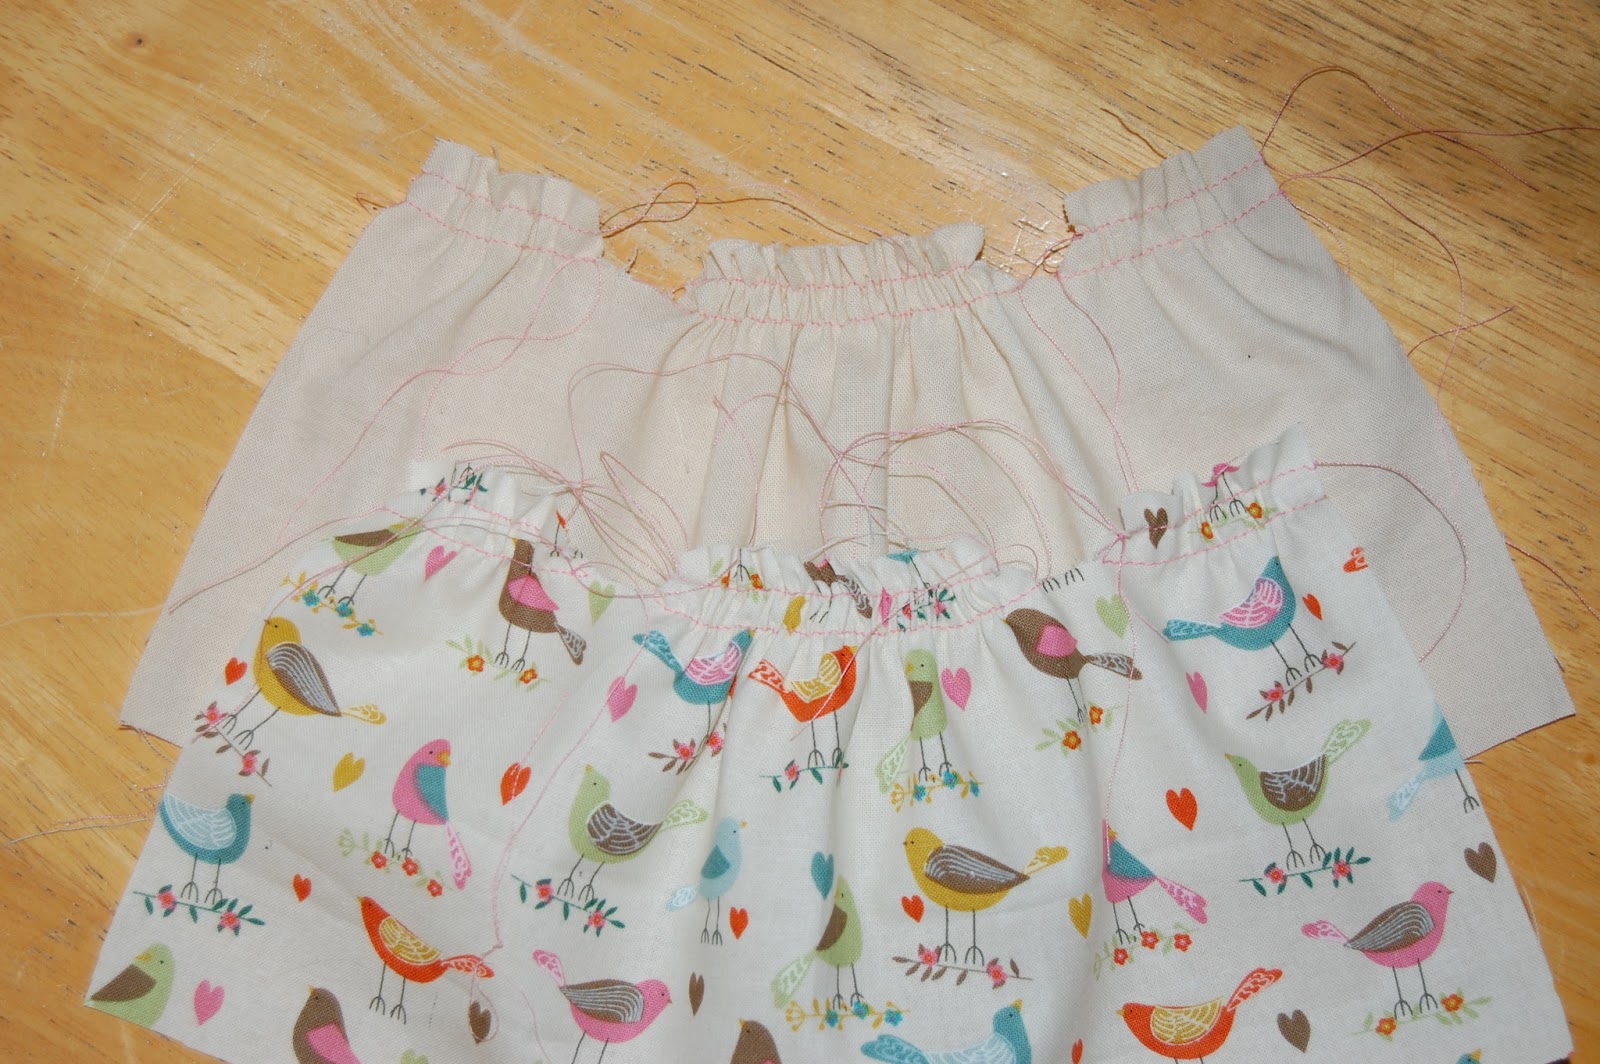
Step four: Run two rows of gathering stitches on the dress fabric and the lining.
Step five: Gather the dress fabric and the lining. I gathered the five
inch chest area down to about two inches. I gathered the back only slightly. This
gathering is also called shirring.
You can measure on your doll to make sure it can close in the back.
Step six: Add the ribbon for ties to the right side of your main fabric (notice how they are
pointing down). I ended up having to move them slightly from what is
pictured -about 1/4 inch from the edge of the arm areas. If you want to
be able to tie them at the shoulders, cut them at least 6 inches each.
You can always trim them shorter if needed.
Step seven: With right sides together, sew all round the dress leaving an inch opening at the bottom. (you will be turning your dress right side by pulling through the small hole at the bottom).Clip the underarm curves being careful not to cut through stitching.
Step eight: Turn dress right side out. I use a non sharp item like a crochet hook to get the corners pushed out. Sew the small opening at the bottom of your dress shut. I sewed mine by hand but you could top stitch around your dress if you wish.
Step nine: Fit the dress on your doll and see how you want to do the straps. I cut mine short so I had to be creative. I tied them in knots and added ribbon roses. Add your snaps (one on the top and one in the middle).
Step ten: Enjoy your creation! Pat yourself on the back. You made your own pattern! Then make your toddler pose for a picture. Mine refused to put shoes on and insisted on having her bunny in the picture.


Your toddler looks super!
ReplyDelete